
This is the fourth lesson in a series introducing 10-year-olds to programming through Minecraft. Learn more here.
If you've ever changed your skin in Minecraft, you've used one type of image file called a PNG file. But what exactly is an image file? It's really just a collection of pixels that a computer can display.
Pixel: The smallest element in an image, and usually the smallest item your graphics card can display on screen. Let's use the top part of the Minecraft title screen as an example.
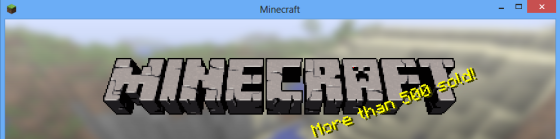
I've coloured one of the pixels bright red. Can you see it? How about if we pretend we have a magnifying glass and look really closely at the letter A?
![]()
As you can see, a pixel is pretty small. Each pixel also has a colour which is a combination of amounts (0-255) of red, green, and blue.
For example, the single red pixel in the picture has a colour that is 255 Red, 0 Green, and 0 Blue. The dark grey pixel to the left of it is 83 Red, 80 Green, and 83 Blue.
Dimensions: An image is a grid of pixels with a width and height — both expressed in number of pixels. For instance, the top picture has dimensions of 560x139 which means there are 560 pixels going across from left to right, and 139 pictures going down from top to bottom.
How do we create an image file?
There are a lot of programs out there to create and edit images: Photoshop, Fireworks, and GIMP are a few of the more famous ones. We're going to use a free, simple application called Paint.Net.
Let's say we wanted to make our own version of a wooden door that was blue:
- File > New > 16x16
- Zoom in to 1200% (or so)
- Draw a blue door :)
- File > Save > "blue-door.png" (Make sure the "Save as Type" dropdown has PNG chosen)
Here's mine (both regular size and zoomed in a bit)
![]()

If it looks familiar ... I may have had some "help" creating it :)
In a later lesson we're going to learn how we can actually use this image in Minecraft. What's important to remember here is that we created a PNG file and saved it to a directory on disk with a certain filename.
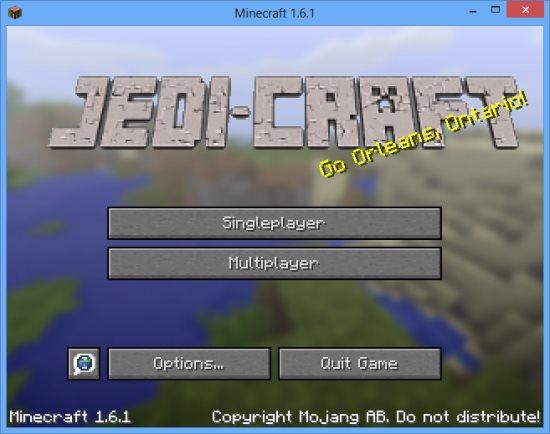
With a little bit of help from textcraft.net, and Paint.net, I was able to change the main logo on the startup screen to this:
Further Reading
Extra Credit
To modify the main icon on the splash screen, follow these steps:
- Go to http://textcraft.net/, create and download your file. Set the max width to 300.
- Rename the file to
minecraft.png(all lowercase) - Edit the image so that the text is split in two, with the top line taking exactly 155x44 and the bottom line 119x44 with a blank line in-between. Canvas size should be 256x256.
- Update the zip file from the last article by putting
minecraft.pngintoassets\minecraft\textures\gui\title - Profit!

Comments